3.5L Ecoboost Timing Chain Replacement
The 3.5L EcoBoost is great engine with a few problematic complaints. These engines come buried inside the F150, Explorer, and Taurus have been experiencing little growing pains. I mean that literally - the timing chains are stretching causing all sorts of problems. A stretched chain causes a few drivability issues, maybe some noise, then escalates into a full blown tear-down due to bent valves. See the picture? No good! I love these 3.5L EcoBoost engines, but this is definitely an issue.
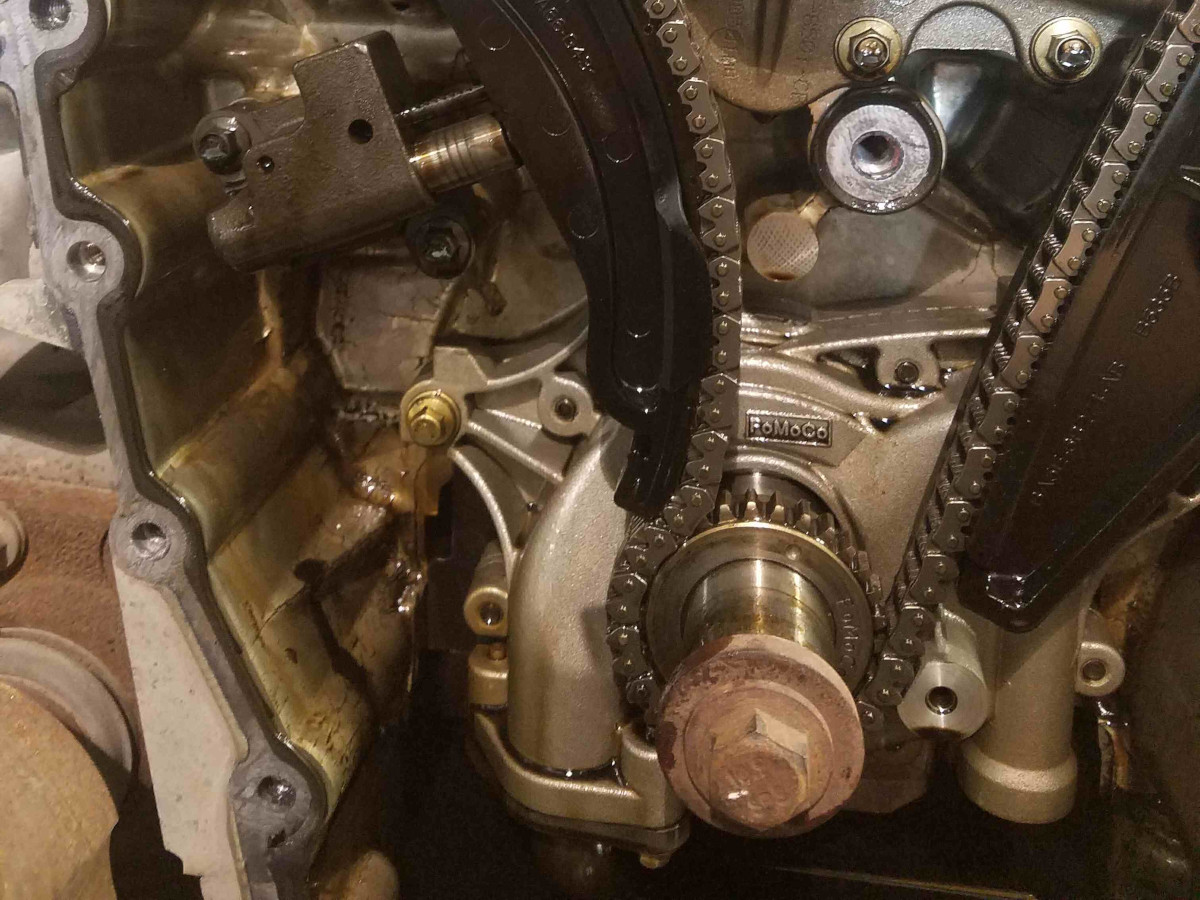
This article is about the first generation Ford 3.5L Ecoboost, in the 2011-2015 F150, but can be applied to the FWD variation as well. The picture is actually a Taurus experiencing the elongated chain. You can see how the tensioner is fully extended causing the chain to wrap around the crankshaft gear more than needed. Near the end of this article you can see what a new chain looks like.
This problem can be remedied with a new timing chain. I should elaborate a bit on the chain failures. The 3.5L EcoBoost chain doesn't actually 'stretch' because elasticity is not a property of metal. The chain wears out at the pivot points for each link because the way the chain is routed causing it to bend completely backwards as it travels along the water pump / center idler. The small amount of wear, multiplied for every link, creates a chain that is longer.
Changing the timing chain on a 3.5L Ecoboost isn't nearly as bad as you might think. Even with the twin turbo engine having an impressive three timing chains, three chain tensioners, four chain guides, four camshafts -its a very simple process. Eventually I will divide this article up into a few pages explaining removal procedures for each model. There are going to be a few tools you will need to complete a task like changing your timing chain. A basic selection of tools will get the job done along with the addition of a few specialty tools.
3.5 Camshaft Timing Tools
3 Jaw Harmonic Balancer Puller
Torx Plus TP55
Must be TORX Plus not regular Torx. The TP socket is very different from a regular Torx socket. The use of the wrong tool will likely strip out the bolt head.
The TP socket is used for removal of the camshaft sprocket bolts. The puller is pretty standard 3 jaw to remove the harmonic balancer, noting some pullers don't work with this crank pulley. The camshaft holding tool holds the cams in the correct spot for setting the chains. The job can be done without the timing tools but obviously using the correct tools makes the job easier.
Be sure you know understand which bank is on each side. The "left" bank is the one that is on the drivers side or the front of the engine in a Ford front wheel drive application. Always think as if you were sitting in the drivers seat looking forward out the windsheild to correctly determine left/right parts on a vehicle.
You should replace other parts such as the timing chain guides, timing chain tensioner, ect while you're in there. Remember you will need all the applicable gaskets. Parts fitment depends on model and year.
Chain Removal and Replacement
This article is written with the idea that you have already removed the front cover to expose the timing chains. I do not yet have instructions to remove the front cover on each vehicle, but those are coming soon. Remember, the 3 Jaw Harmonic Balancer Puller removal tool is the correct tool you NEED to get the harmonic balancer off. Don't try the "fancy" dual pry bar trick.
With the front cover removed, you can start the important part of the job and get the chain replaced. Before removing the old chains, you want to get everything in position. The crankshaft will need to turned so that the timing mark on the crankshaft sprocket is at the 4 o'clock position. You need to then look at the camshaft sprockets and be sure the left bank has the "L" at the top of the sprocket and the right bank has the "R" at the top of the sprocket. If they are at the bottom and upside down, you need to rotate the crankshaft an additional 180 degrees. At this point, you should no longer have to move the crankshaft and doing so with the chain off could bend valves. You'll need to access to the camshaft tools I mentioned to acquire before starting this project, you can now install them.
You need to remove the variable camshaft timing solenoid and housing assembly. There are a 3 bolts per side, and once you have those out just pull outward on the housing to release it from the phaser / camshaft sprocket. You can now remove the primary chain tensioner, tensioner arm, and the guide located under the right cylinder head which will allow you to remove the primary chain. If you are replacing the primary chain only, you can skip some of these next steps, but I recommend at least reading through them. Removing the secondary chains is pretty straight forward. You need to remove the TP55 bolt that holds the phaser on, which is the intake camshaft sprocket. Use a backup wrench on the slots to hold the camshaft. Pull on the phaser and it should slide off with ease allowing you to remove the secondary chain with it. Repeat.
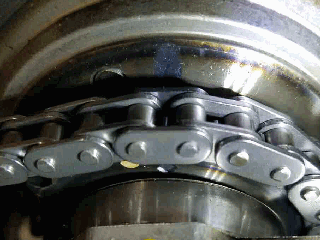
There are 2 bolts on each secondary chain tensioner to remove those if replacing. The exhaust sprocket has the timing mark machined on the outside. If you flip the phaser over, you will clearly see the timing mark. Make note of it's location as it's somewhat hard to see once you bolt it back on but you can see it if you look. It lines directly up with the key way. Your new chains are marked with black links. Keep this in mind: the left bank will have it's cams unloaded (no valves open) and the right bank will have a set of valves open. If needing to rotate the right bank to center the tool / wrench flats, you will fight valve spring pressure and if you go to far it will want to jump the other way. You need it right in the middle point, where you have the valve fully compressed and the lobe so it is not forcing the camshaft to turn either direction. The timing tools will fit snug but easily removed.
With all of the timing chains and components removed, you should now clean the front cover and the block. Remove all leftover rtv. A razor blade works great. Take note of all the vocations that need the rtv.
Installing the primary chain is easy. Locate the three different sets of colored links in the chain. Align the single yellow link on the timing mark on the right phaser, route the chain under the idler / water pump depending on application, then the single gold link on the timing mark on the left phaser, and the double gold link split over the timing mark on the crankshaft. It may be possible you have to slightly rotate the crankshaft to align the links on the bottom so go ahead and do so without worrying. Install the tensioner arm and the chain tensioner.
I have supplied more pictures here: timing marks on crank, timing marks on cam. Check your work with the pictures I provided. Notice the yellow marks on the correct mark on each phaser.
Now install the vct solenoids and housings back into the phasers on each side. Do note that there are 4 seals per side you should replace. Make sure all locking pins are pulled from the tensioners. The front cover will need to be sealed with Motorcraft TA-357 special RTV. There are bolt boses that need to be sealed in the middle of the block for the water pump attachment bolts / motor mounts on a front wheel drive. Pay close attention to all locations with RTV that needs to be removed and replaced with new. After applying it to your cleaned front cover, but that baby on and tighten all those bolts down. You're ready to assemble the rest of the vehicle.